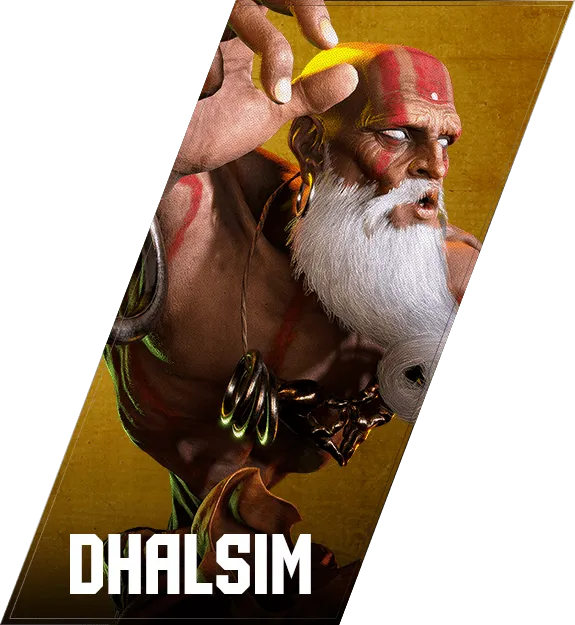

ダルシム
Dhalsim — 대책
Key Info
- Overhead that combos on hit:
- 6MK
- Defense
- No OD invincible reversal
- SA1 236236LP: 8F startup, no invincibility
- SA2 214214K: 11F startup; crouching causes the attack to whiff
- SA3 236236K: 10F startup
- Has Teleport:
- 6PPP (forward teleport)
- 4PPP (backward teleport)
- 6KKK (forward aerial teleport)
- 4KKK (backward aerial teleport)
- Move that leaves Dhalsim at advantage on block:
- 236K (Yoga Arch) — blocking it hands Dhalsim the offensive turn
Neutral Game (Focus Points)
- Walk forward
- Do not retreat unless you have a specific whiff-punish or character-strength goal.
- Whiff punishing is difficult and the reward is limited — default to walking in.
- Commit to walk-forward crouch-block
- Keep advancing while blocking correctly.
- The best time to walk forward is right after blocking Dhalsim's normals.
- Do not back away from Yoga Fire
- Retreating from Yoga Fire increases Dhalsim's frame advantage and makes the situation harder to escape.
- Also try to Just Parry the fireball into a strike.
- Use forward dash
- If walk-and-block is difficult, consider forward dashing instead.
- The best time to dash is right after blocking a normal.
- Do not block Yoga Arch
- Blocking it hands Dhalsim the offensive turn via Teleport.
- When you see Yoga Arch, walk or Drive Rush through it.
- Forward jump on Yoga Comet
- Dhalsim has long recovery after Yoga Comet, so a forward jump cannot be punished.
- Punish Teleport
- The biggest danger is Dhalsim safely escaping corner pressure with Teleport.
- For low-height Teleports, do not use a special anti-air — hit with standing LP and convert to a combo.
- For high-height Teleports, use a special anti-air or a normal with strong upward hitbox.
- Once you have a life lead, consider running down the clock
- Dhalsim's offense is not particularly threatening — watching for Teleport and Drive Rush makes it manageable.
- If you have a life lead and Drive Gauge to spare, backing off and turtling is a valid option.
- Do not act recklessly on wakeup
- After a throw tech, for example, the urge to raw Drive Rush is strong — but most Dhalsim players buffer a back dash, so avoid raw Drive Rush and jump-ins.
- If you can catch the Drive Rush cancel, go for it actively.
- Alternatively, if you confirm the buffer, a delayed Drive Rush is also fine.
63214P (Yoga Flame)
Dhalsim's combo-ender special.
- 63214LP: -4F on block
- 63214MP: -4F on block
- 63214HP: -4F on block
- 63214PP (OD): -11F on block
Recommended Counter
- After blocking Yoga Flame you may want to Drive Rush with the frame advantage, but Dhalsim can buffer a back dash — avoid raw Drive Rush and jump-ins.
- 63214PP is -11F on block — punish with a heavy attack.
236P (Yoga Fire)
Dhalsim's slow-speed projectile. He often follows it with 6PPP (Teleport) timed to your block, creating a left-right mix-up. Always hold Parry when he Teleports after a fireball to limit extra damage.
- 236LP: Slowest speed
- 236MP: Medium speed
- 236HP: Fastest speed
Recommended Counter
- Walk forward and block on seeing Yoga Fire
- If you then see a Teleport, a standing light can punish depending on distance.
- At long range there may be no gap for a standing light — recognize that how far you walk in changes the situation.
- Walk backward and block on seeing Yoga Fire
- At long range where walking in creates no gap, back off, wait for the Teleport, and punish.
- Taking the Yoga Fire hit is acceptable if it lets you catch the Teleport and start your own offense.
- During Burnout: forward jump when you see the Teleport before blocking Yoga Fire
- When the above two options stop working in Burnout, jump forward as soon as you see the Teleport.
6PPP (Yoga Teleport)
Dhalsim's teleport — swaps sides instantly. After the Teleport lands, hit him with a standing normal for a punish. If you saw it coming, use a heavier normal for more damage; if you did not, a 4F normal still gives solid reward — do not overextend.
Hitting the Teleport during its active frames counts as a Punish Counter, so use a Punish Counter combo.
Recommended Counter
- Hit him with a normal the moment you see the Teleport
- If you saw it coming, go for a heavy attack for better reward.
- Even if you did not, a 4F normal is enough.
- Adjust your response based on Teleport height (high / low)
- Low Teleport: hit with standing LP and convert to a combo.
- High Teleport: use a special anti-air or a normal with strong upward coverage.
- Prevent Teleport escapes from the corner
- Once Dhalsim has his back to the wall, watch for Teleport.
- Letting him escape with Teleport is the worst outcome.
236K (Yoga Arch)
Blocking Yoga Arch starts Dhalsim's offensive turn. After a blocked Yoga Arch, Dhalsim typically does one of:
- Yoga Slide (low)
- Teleport (mix-up)
Recommended Counter
- The best counter to Yoga Arch is not blocking it at all
- Walk or Drive Rush through it when you see it coming.
- Blocking it gives Dhalsim his offensive turn.
- If you do block it:
- You face a mix-up between Teleport (overhead/cross-up) and Yoga Slide (low).
- Hold Parry to cover the Teleport strike while staying ready for the low.
236MK→HK (M/H OD Yoga Arch setplay)
Be aware that M/H OD Yoga Arch is an extremely powerful setplay tool in these situations:
Corner to corner: Yoga Fire → M/H OD Yoga Arch → Teleport creates a left-right mix-up After Yoga Blast: M/H OD Yoga Arch → Heavy Yoga Slide → +6F on block
Recommended Counter
- OD Yoga Arch setplay is extremely strong
- Hold Parry when a left-right mix-up is coming to cover both sides.
- Drive Reversal is also effective but costs gauge.
- The sequence after Yoga Blast
- After Heavy Yoga Slide you are at +6F — do not mash or reversal.
- Block patiently and wait for your turn.
HP (Standing Heavy Punch)
Dhalsim's longest-reaching normal. Dhalsim is -11F on block.
Recommended Counter
Because Dhalsim is -11F, you can walk forward for 15–20F and guard-walk or forward-dash-block even if he chains into another normal. After blocking this move Dhalsim is often watching for a jump-in response — avoid jumping after the block.
3HK (Yoga Slide)
A long-range low that allows follow-up combos on hit.
Recommended Counter
- Crouch-block to handle it — Dhalsim is at disadvantage on block, so punish after guarding.
- Punishing from the tip is hard to reach — in that case, forward dash first, then punish.
- Dhalsim often uses Yoga Slide after Yoga Arch — stay low-guard-ready after blocking Yoga Arch.
Wake-up Pressure on Dhalsim
When applying okizeme on Dhalsim, meaty jump-in setups have a high expected return. Be aware of Dhalsim's reversal options:
- SA1 236236LP: No invincibility
- SA2 214214K: Crouching causes the attack to whiff — if you evade it, grab or use a cinematic-lock move for reward. When punishing, wait for the fireball to leave Dhalsim before grabbing — throwing too early trades with the projectile.
- SA3 236236K: 10F startup
- Drive Reversal: Universal system mechanic
- [Jumping] 2LK: Can score reward against throws
Recommended Counter
Adjust your approach based on Dhalsim's gauge and health:
- When Dhalsim has a lot of Drive Gauge: Use medium-button meaties that can block Drive Reversal.
- When SA2 is stocked: Use a crouching attack as the meaty.
- When SA3 is stocked: Use a 9F meaty jump-in setup.
- When SA3, SA2, or Drive Gauge is plentiful: Delay a strike with strong upward hitbox coverage. This also adds risk to Dhalsim's [Jumping] 2LK option.
LPLK (Forward Throw)
Dhalsim is at +18F advantage.
- On in-place wakeup: Drive Rush allows him to maintain okizeme; Drive Rush confirm into OD reversal is effective.
- On back wakeup: Distance increases and Dhalsim reaches his preferred zoning range; expect Teleport or fireballs.
Recommended Counter
- In-place wakeup → Drive Rush confirm → respond is the most stable option.
- Dhalsim does not Drive Rush very often.
- If no Drive Rush comes, walk forward to close the distance.
- Back wakeup is not recommended — it gives up screen position and puts you in Dhalsim's preferred zoning range.
4LPLK (Back Throw)
Dhalsim is at +16F advantage.
Recommended Counter
- Same as the forward throw — in-place wakeup into a read is the most stable option.
- After a back throw, Dhalsim's ability to maintain pressure is weaker than after a forward throw.
- Walking forward to close the distance is the most important priority.